Physical Address
304 North Cardinal St.
Dorchester Center, MA 02124
Physical Address
304 North Cardinal St.
Dorchester Center, MA 02124
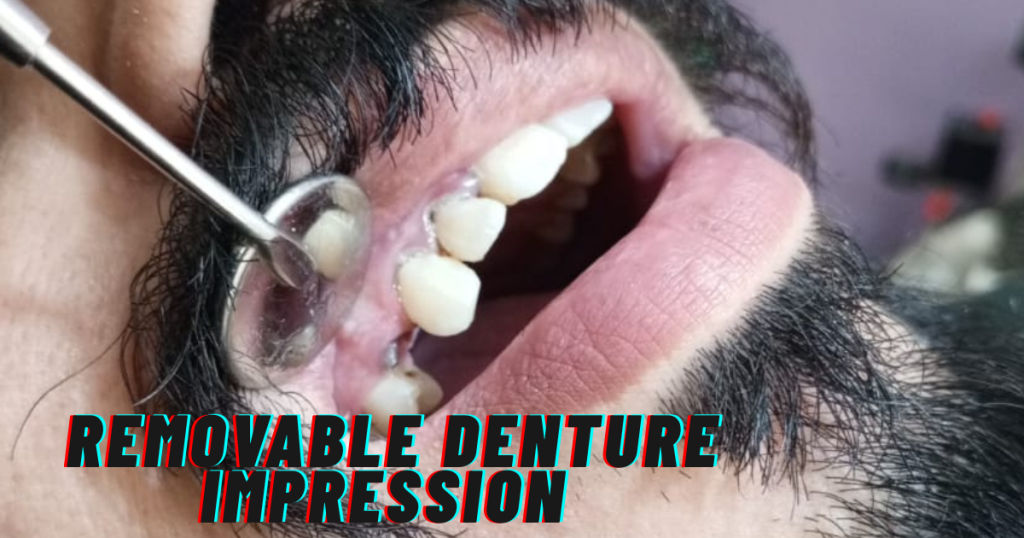
Ever faced the prospect of getting new dentures but felt clueless about that first crucial step—the impression? The removable denture impression procedure ,(“when you’re taking impressions for removable dentures, it’s not like you absolutely need support from the patient’s remaining teeth—full dentures mostly rely on the gums and jaw structure, while partial ones might incorporate the existing teeth if they’re there.”)is where it all begins, capturing a precise mold of your mouth to ensure your custom partial or full dentures fit comfortably, look natural, and function like a dream.It’s a straightforward, non-invasive process that sets the stage for a confident smile without the guesswork. In this step-by-step guide, we’ll walk you through everything from prep to final tweeks.

Getting Ready: Preparation Tips
Before diving in, chat with your dentist about your medical history, any allergies, or gag reflex issues—they’ll tailor things for comfort. Skip wearing old dentures for an hour or two beforehand to let your gums relax. Position yourself upright in the chair to avoid material dripping back, and bring a buddy if you’re nervous. For partial dentures, ensure remaining teeth are clean.
Materials You’ll Encounter
Dentists often start with alginate for quick primary molds—it’s affordable, mixes with water, and sets fast in moist mouths. For detailed final impressions, light-body polyvinyl siloxane (PVS) shines for its accuracy and flexibility around undercuts. Custom trays from acrylic or stock ones get modified with wax for better borders. These choices keep things biocompatible and precise.
Step 1: The Initial Consultation and Primary Impression
Your dentist evaluates your mouth, discusses options like complete or partial dentures, and picks a stock tray that fits your arch. Mix alginate, load the tray, and seat it evenly—lower arch first to ease gagging.Hold steady for a few minutes until set, then remove gently. This captures basics like ridges and vestibules for a diagnostic model.
Step 2: Crafting the Custom Tray
From the primary mold, the lab pours a gypsum cast and builds a custom tray. This rigid acrylic piece ensures even material thickness—key for avoiding distortions in the next step.It might take a week, but it’s worth it for that snug fit.
Step 3: Border Molding and Functional Tweaks
Fit the custom tray, then add thermoplastic like modeling plastic to the edges. Soften it in warm water, insert, and have you move your muscles to shape borders naturally. This records dynamic areas like frenula for better retention—chill sections with water spray between adjustments.
Step 4: The Final (Master) Impression
Load the tray with light-body PVS, seat it firmly, and let it set while you relax—about 8-10 minutes. Pull lips gently for upper arches or lift your tongue for lowers to free tissues. Remove, rinse, and check for full coverage of landmarks like hamular notches or retromolar pads.
Common Mistakes and How to Dodge Them
Rushing the mix can cause voids—always follow ratios. Not seating the tray level misses posterior ridges; keep it horizontal.Overloading material leads to mess, so aim for even spread. Pour models quickly to prevent alginate shrinking from moisture loss.
After the Impression: What’s Next
Rinse the mold, disinfect, and send to the lab for your denture base. Expect a try-in appointment soon to tweak fit and bite.Drink water post-procedure if your mouth feels dry, and schedule follow-ups for adjustments as gums heal.
Why This Matters for Your Smile
Accurate impressions prevent sore spots, boost stability, and mimic natural function—think easier chewing without slippage. For seniors or those with bone loss, they ensure gentle pressure distribution.Modern digital scans are emerging, but traditional methods remain reliable and cost-effective.
FAQs on Removable Denture Impressions
Does it hurt?
Usually not—it’s non-invasive with minimal discomfort, though gagging can happen; breathe through your nose and stay upright.
How long does the whole thing take?
Each session is 30-40 minutes; the full process spans 1-2 weeks with lab time.
What if I have a strong gag reflex?
Opt for lower first, lean forward, and distract yourself—your dentist might use flavored materials or anti-gag sprays.
Are there alternatives to alginate?
Yes, like polyether for wet mouths or digital scanners for gag-free options, but check with your pro.
How much does it cost?
Impressions are part of denture fees ($500-$3000 total), often covered partially by insurance for restorative needs.
Wrapping up this step-by-step on removable denture impressions, remember it’s the foundation for dentures that feel like a natural extension of you—snug, functional, and confidence-boosting, whether tackling full arches or partial gaps. With the right prep and materials, you’ll sidestep common hiccups and step into a smoother smile journey. If you’re gearing up for your own procedure, touch base with your dentist for tailored tweaks.